

I decided to do the Sierra High Route, and, well, I don’t really hike. With the trip on the calendar, I took some time to get some miles and elevation on these stubby little climber legs. Armed with 6L of water and camera gear in my pack, hiking Jobs Peak to Freel Peak ended up being the perfect sufferfest for training.

If we’re being honest, hiking Jobs Peak to Freel Peak isn’t much to write home about. If you are into peak bagging, Freel is the tallest peak in the Tahoe Basin. On a clear-ish day, you can see into Nevada, the Eastern Sierra, Carson Pass, and across the lake. It’s also highly rated on the Ogul List.
If you are looking for a high value peak, something to keep coming back to, something you’d bring friends and family to, this isn’t it. It’s dry. It is dusty, and it is a slog. Simply put, it’s pretty darn miserable.
This is not a hike I want to do again, and I’ve already summited Freel previously. This is, however, a hike that can get your legs into shape, and get your lungs laboring in the thinner air. As a training hike, I would repeat this loop, very reluctantly.
The Stats for Jobs Peak to Freel Peak
| Trailhead | 38.830292, -119.900598 |
| Length | 12 miles |
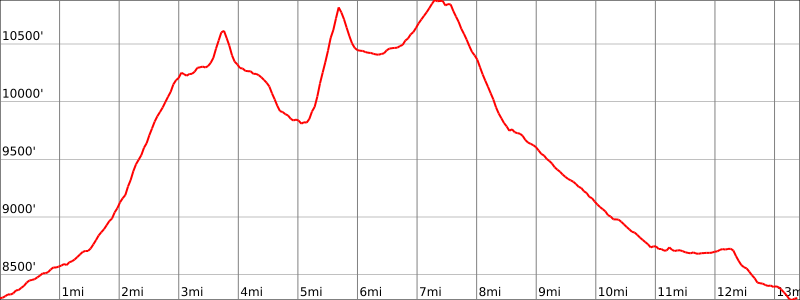
| Elevation gain | 4,013′ |
| Starting elevation | 8,281′ |
| Highest elevation | 10,881′ (Freel Peak Summit) |
| Permit needed? | No |
| Dogs allowed? | Yes |
Getting to the Trailhead
The trailhead for this hike is off of Highway 89 near Luther Pass. Directions on Google Maps will take you to the paved pullout. This pullout turns into Forest Service Road 51 (also labeled as FS31051 ons ome maps).
The road is a little rough and has some ruts. An all-wheel drive vehicle is recommended, but not necessary with careful maneuvering. I saw a couple Priuses and whatnot slowly making their way down the road.
There are a few turnoffs on this road, just keep going east until you go over two bridges. After the second bridge is your parking area, marked by GPS coordinates above.
Trailhead to Jobs Peak
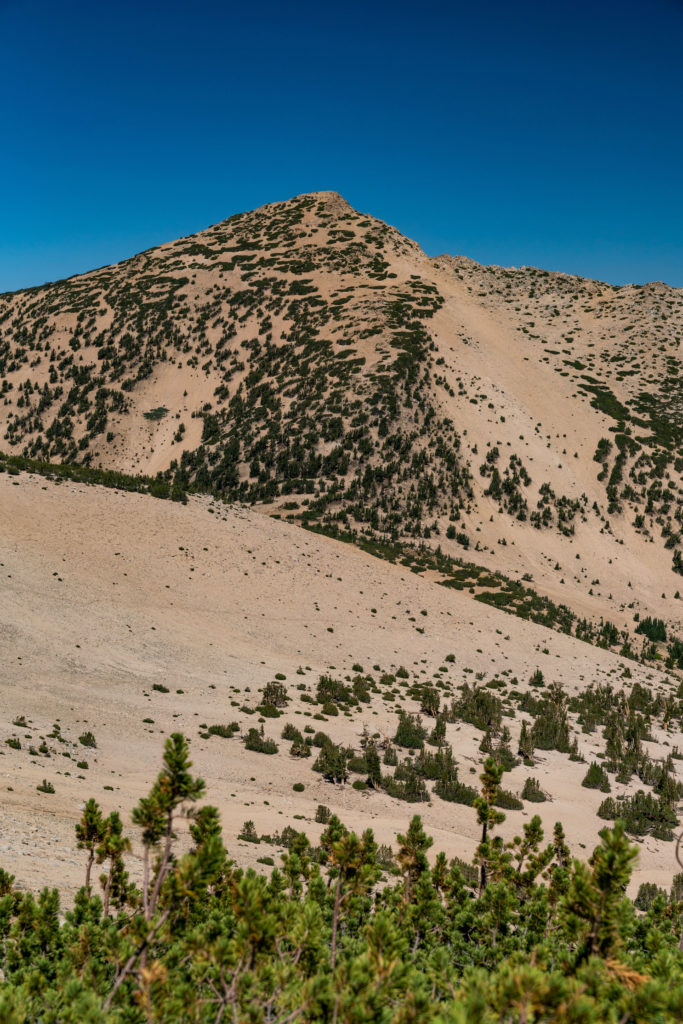
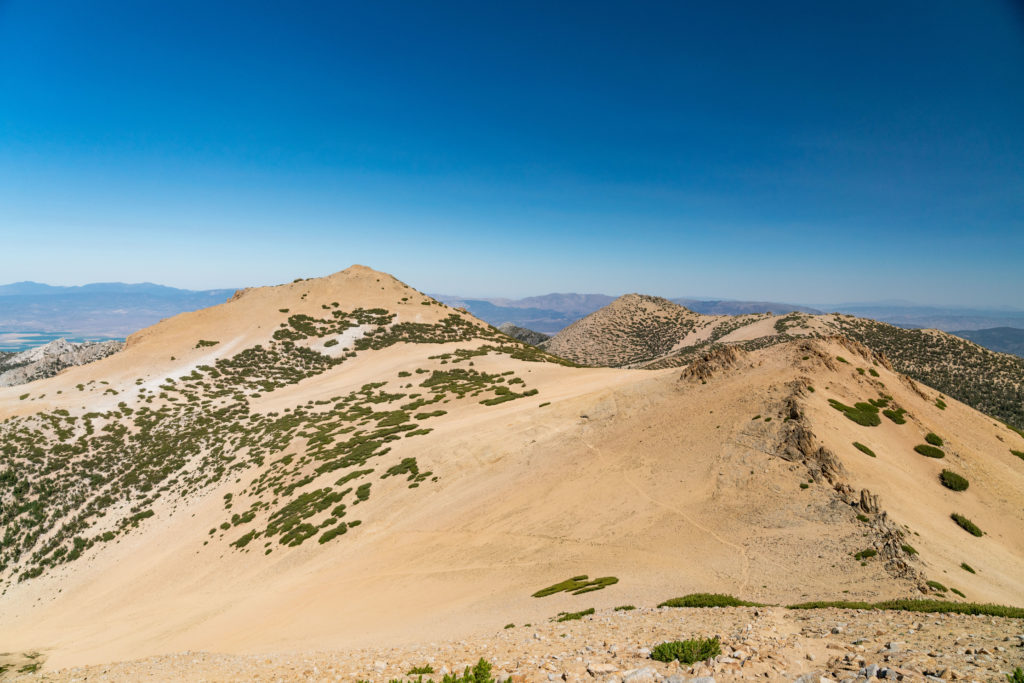
From the trailhead, keep heading up the Forest Service road that you were on. You’ll be able to see Freel Peak and Jobs Sister to the north. As long as you can still see these peaks and you feel like you are getting closer to them, not further away, you are on the right track.
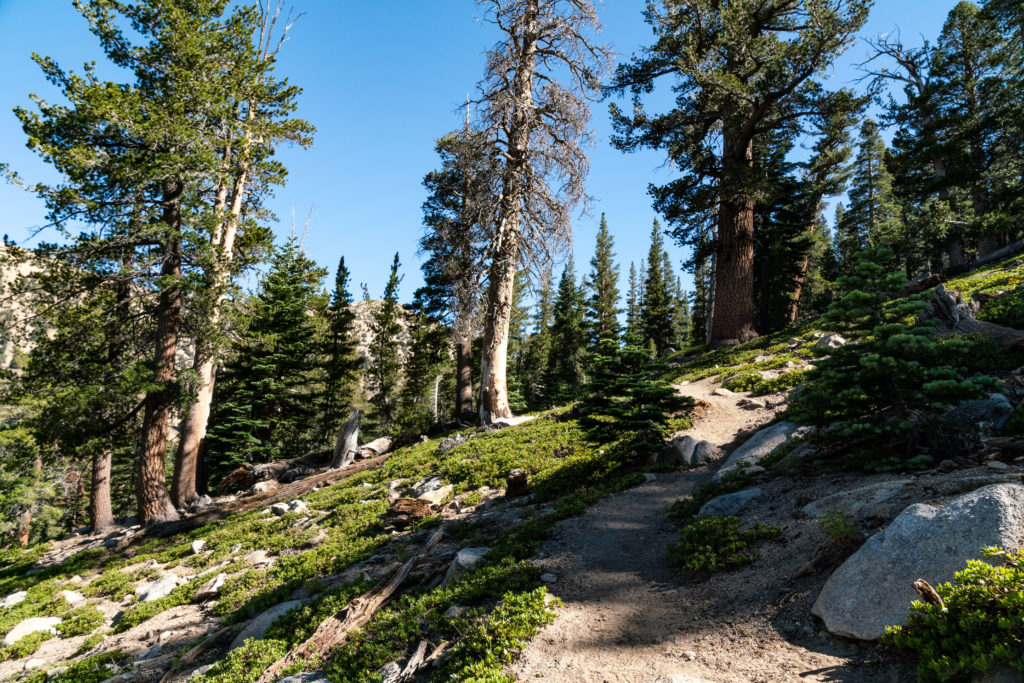
Soon, the Forest Service road turns into a rough Jeep road. Then it narrows into a trail and begins to rapidly ascend out of the trees.
Once you get to the saddle between Jobs Peak and Jobs Sister, the trail to Jobs Peak is obvious. Hike up to tag the summit. Supposedly there’s a summit register on this one. I didn’t find it and didn’t care enough to spend more than a few minutes wandering around.
Jobs Peak to Jobs Sister
From Jobs Peak, retrace your steps to where the trail splits to Jobs Sister. The trail descends a bit before plopping you at the base of the scree.
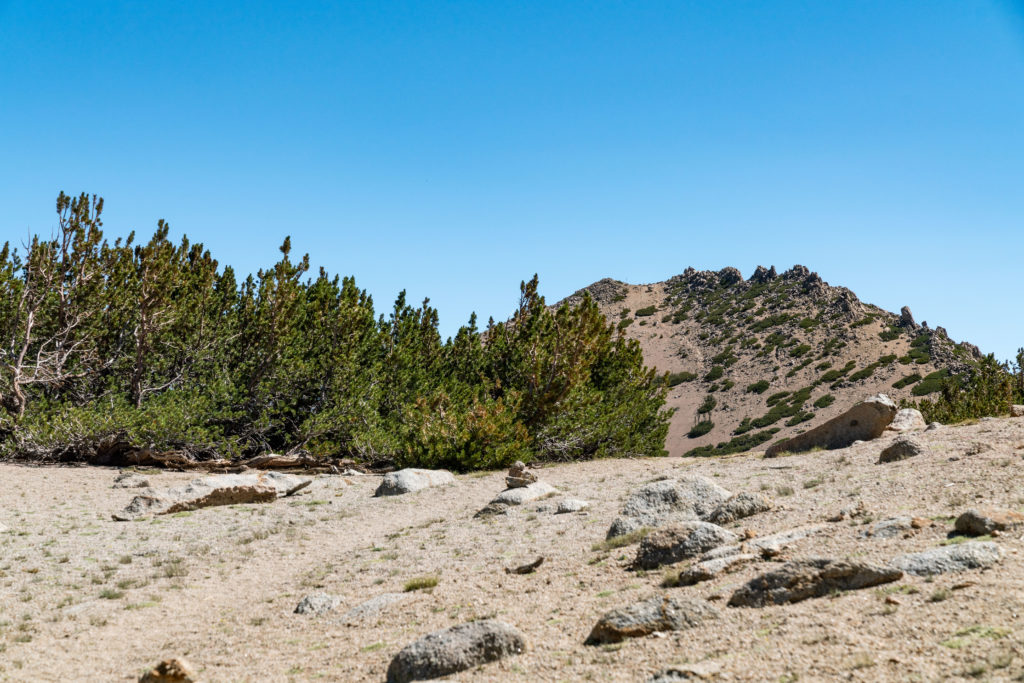
There is a faint trail (as much trail as you can get in sand) that reduces the amount of bushwhacking that you have to do. Try to find it because it makes life much more manageable when you take two steps forward and one step backwards.
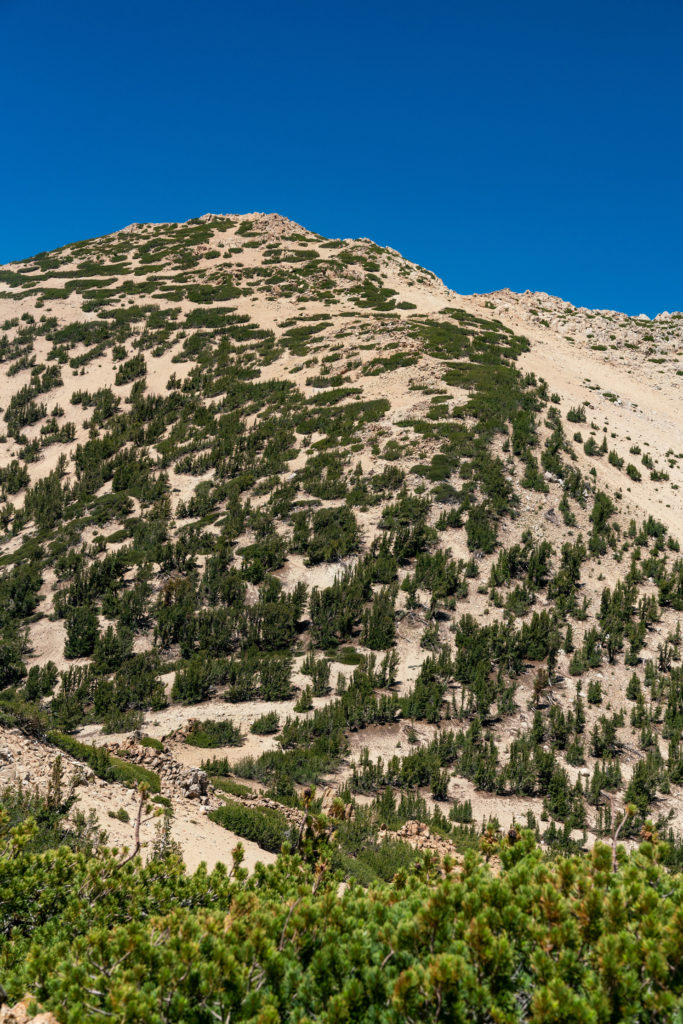
Once you get closer to the top, you’ll start to see more and more small boulders. When you reach the boulders, you’ll be disappointed. The boulders make the summit appear much closer than it actually is.
Jobs Sister to Freel Peak
From Jobs Sister, follow a faint use trail down to the saddle. The trail fades when the terrain flattens out, but Freel Peak is right there in front of you. You can’t get loss. Keep going towards the peak, and relish the flat bit of trail beneath your legs.
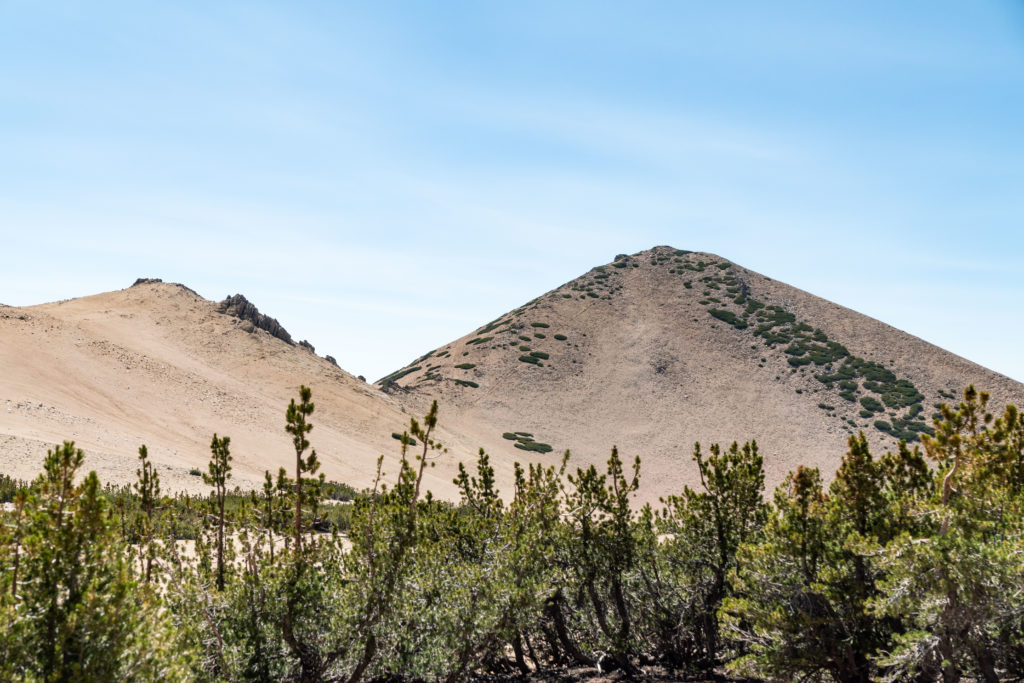
Don’t stray too much because the north slopes of this area are home to the Tahoe draba, an endangered plant that only grows in the fragile alpine in this area.
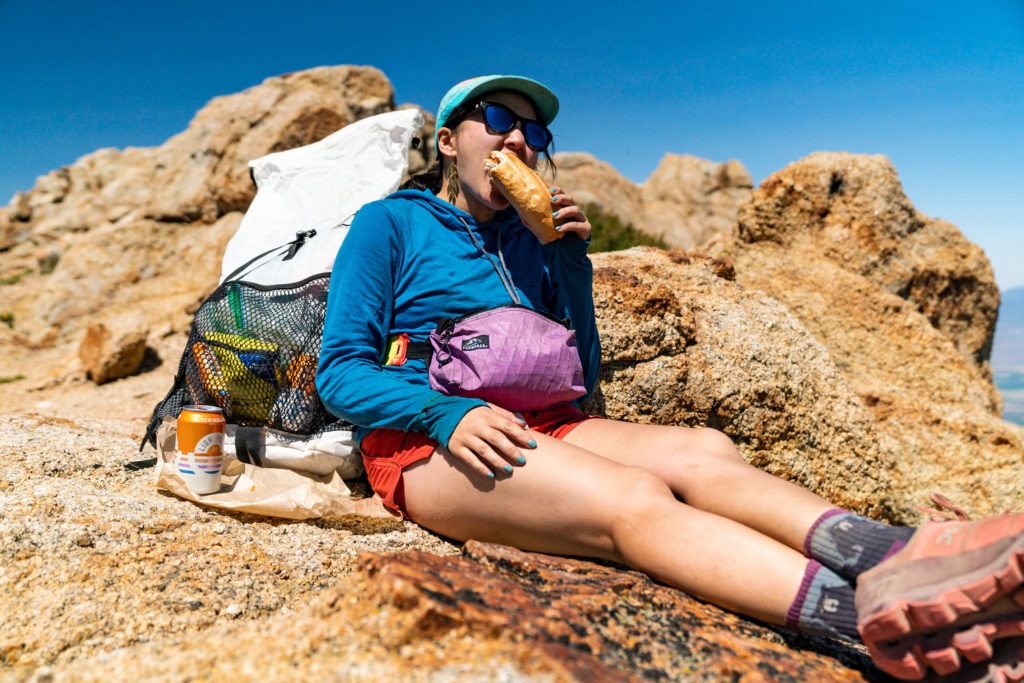
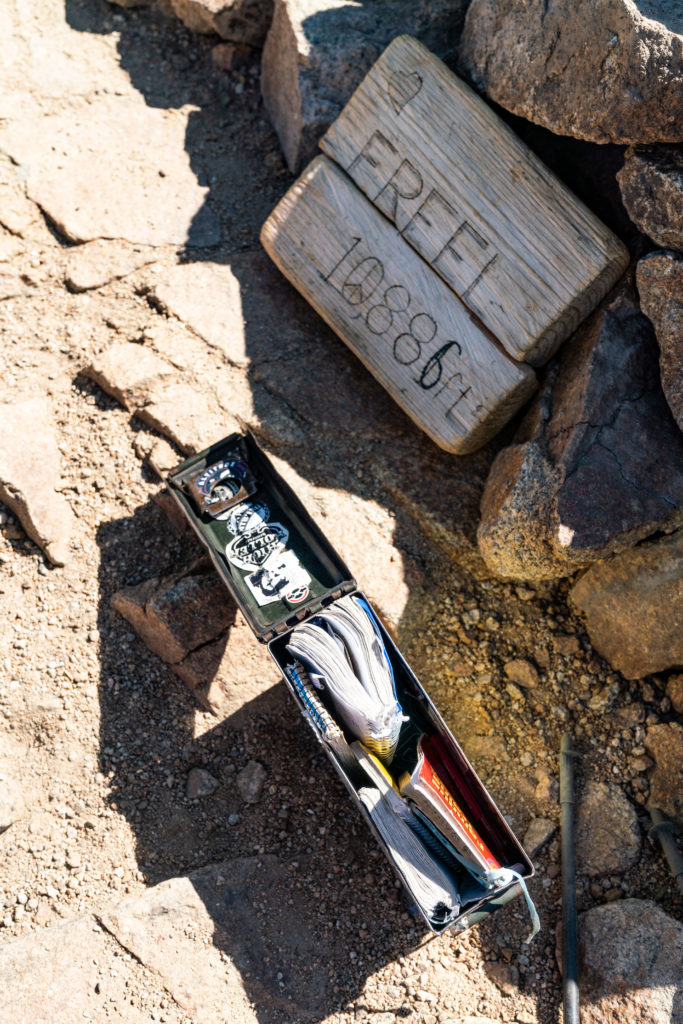
Once you get closer to Freel Peak, take the obvious trail up to the summit. Bring your own piece of paper for the summit register. The notebooks in there are jam packed with ascents.
Freel Peak to Trailhead
From the summit of the Freel Peak, being to head north. There’s a very obvious trail down from the summit. As you make your way down the sandy slopes of Freel Peak, the trail begins to braid. Keep your eyes on the saddle between Freel Peak and Trimmer Peak to the north. This is where the Freel Peak trail meets the Tahoe Rim Trail.

At the junction for Star Lake, head south on the Tahoe Rim Trail. From here, it’s a long slog back on trail to Armstrong Pass and the car. If you hike with headphones in like me, stay aware. This spot is popular with mountain bikers.
From Armstrong Pass, it’s about a mile until you reach Forest Service Road 51. Pop in some music. This last section felt so ridiculously long to me.
Clockwise vs. Counter Clockwise?
There’s a reason why everyone does this clockwise. It’s much easier. You go down the worst scree parts instead of up the manageable scree and trail. When I did this, I only encountered folks coming clockwise, or people making a quick run up to Freel Peak from closer trailheads. Going clockwise means you are going up the steep, braiding trail that heads to Freel Peak, instead of trying to pick your way down, wondering it you are on trail or not. You’ll also get to go down the scree from Jobs Sister instead of struggling your way up it.
If you want to go counter clockwise, know that everyone coming at you is having more fun than you are, but you are much more impressive than they. And they will make sure to tell you. If you are looking for hard miles and to get your legs trail-ready, go counter clockwise.
2 comments
While you may not have convinced me to add this hike to my list, I thoroughly enjoyed reading it. You’re sense of humour is refreshing while reading an informative post. Looking forward to reading some more :)
My Prius has Awd thanks..